
| Home | About Me | mterm | Projects |
|---|
| Setting Up RedStar OS 3.0 |
|---|
|
Setting up RedStar OS is somewhat easy but is pretty doable even with little Linux knowledge. 2. Setting Up RedStar

The first thing to do is to boot into RedStar OS by either letting it sit and autoboot or selecting the OS from the boot menu. The OS will boot and lead to a easy to navigate log in screen. With one account there will only be a username present along with a password field. Fill in the password and hit enter. 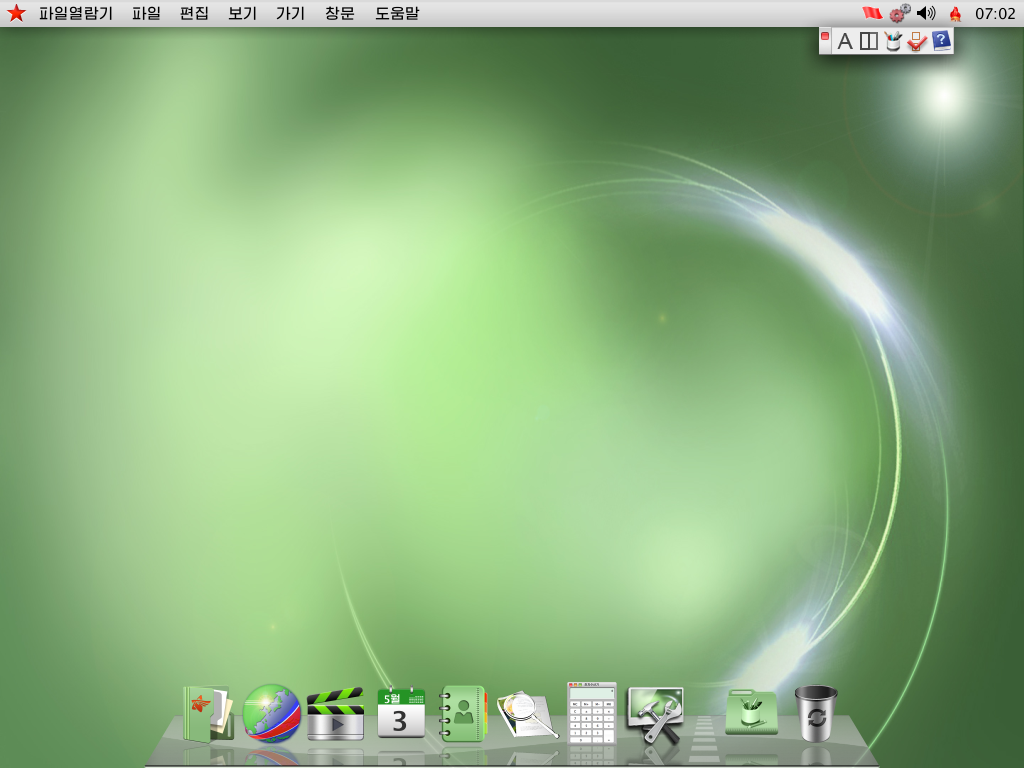
Now present at the desktop you will now need to locate the terminal. The terminal is accessable through the Applications folder located to the left of the Trash Bin on the dock, When that folder opens there is a folder on the top right, Click it, and then click the folder with the Hammer and Wrench on it (for note this is the Utilities folder!). There should only be one application in that folder which is the Terminal. After opening the terminal you want to execute rootsetting which will open up a dialog box (shown below). 
When in rootsetting you will have to click the lock icon at the bottom left of the dialog box. You will be greeted by a screen with the Username and Password field. The username field will already be filled out by the OS, You just need to put in the password then hit next. This will allow you to enable the root account. 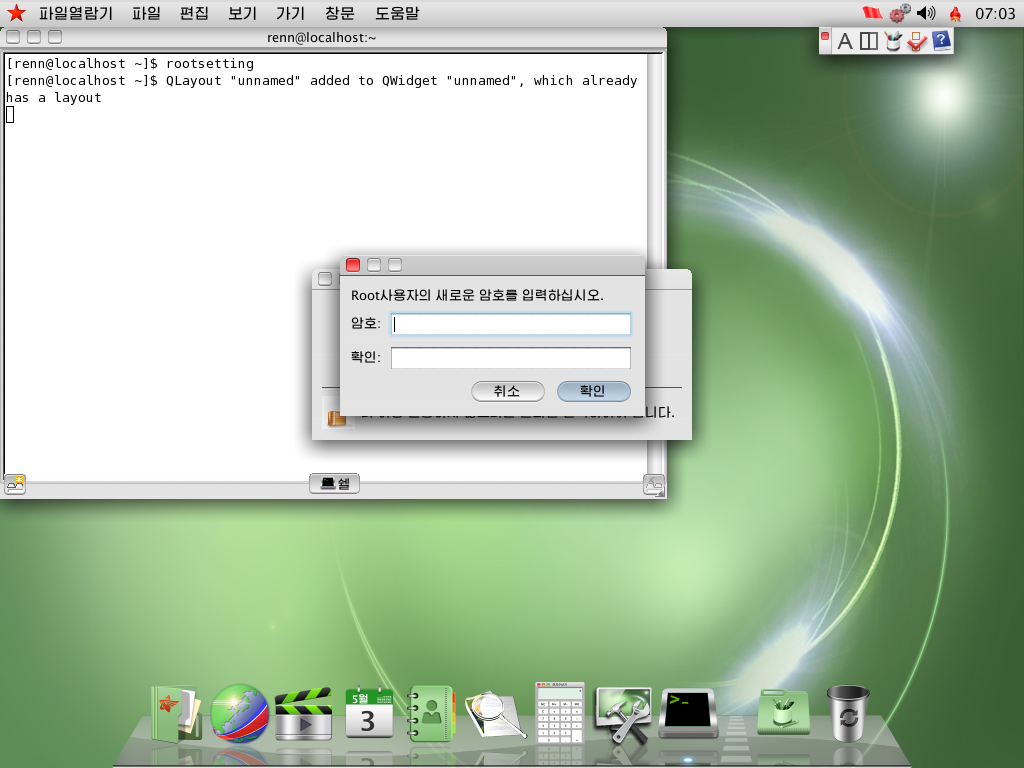
Hitting the button at the top of the dialog box will open this window with two fields in it. They are both password entry fields. You will put in the password you want for the root account in both boxes, Similar to how the Password and Confirm Password fields worked in setting up the User Account. 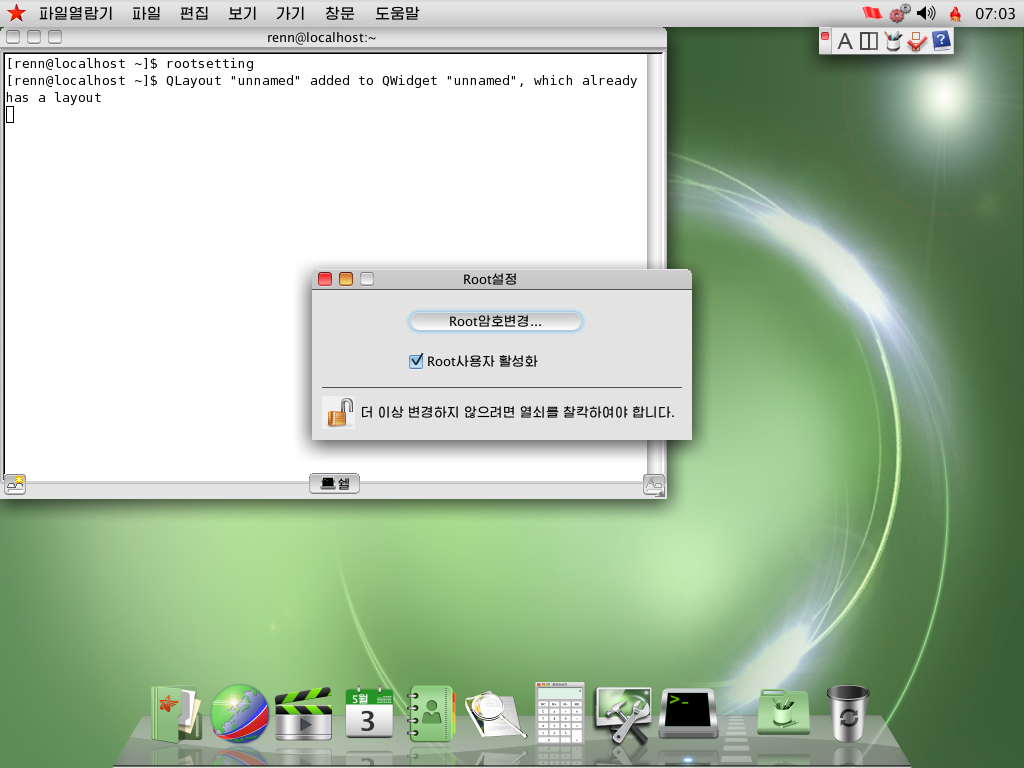
The next thing you want to do is click the checkmark box below the top button. This checkmark box allows the root account to be selected from the user menu when booting up. After that you will want to reboot the computer by either typing reboot in the terminal or by going into the top left menu and rebooting it as you would Mac OS X. 3. Making RedStar OS 3.0 English |