
| Home | About Me | mterm | Projects |
|---|
| Installing RedStar OS 3.0 |
|---|
|
Installing RedStar OS 3.0 is pretty easy. It's pretty much just like installing Mac OS X. The only major hurdle of installing RedStar OS is the fact the Operating System is in Korean. However you can change this later, Which I will cover in this page. 1. Installing RedStar
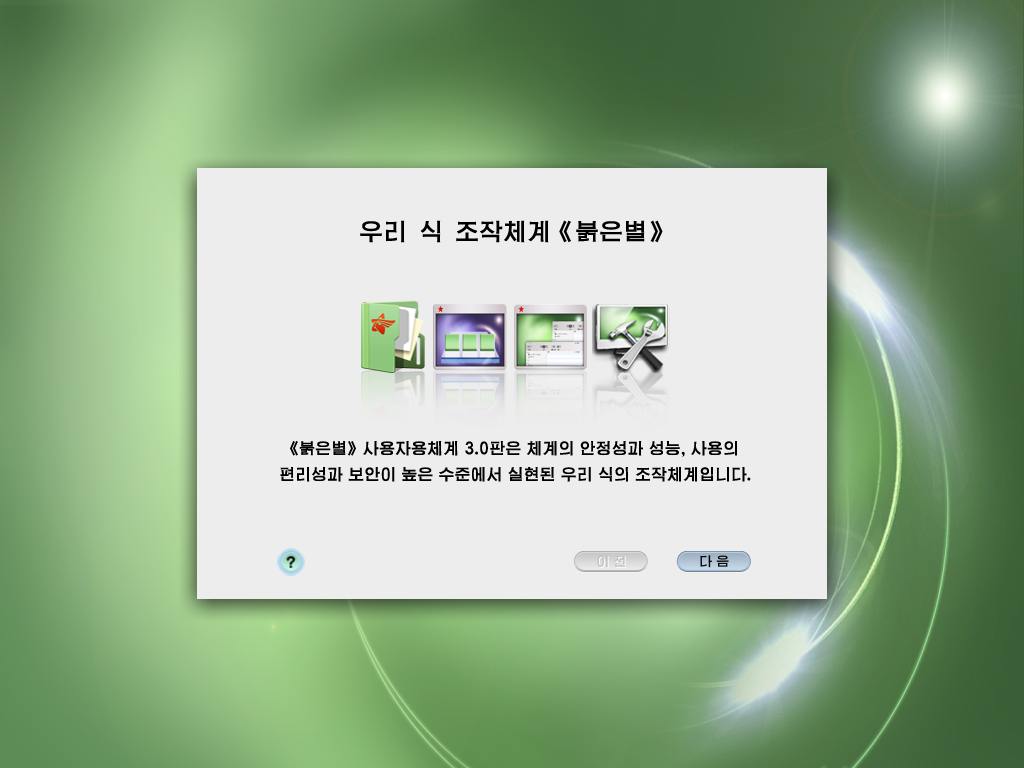
The first step to installing RedStar is pretty easy by just pushing the blue buttons. These are pretty much "Next" and "OK" buttons. 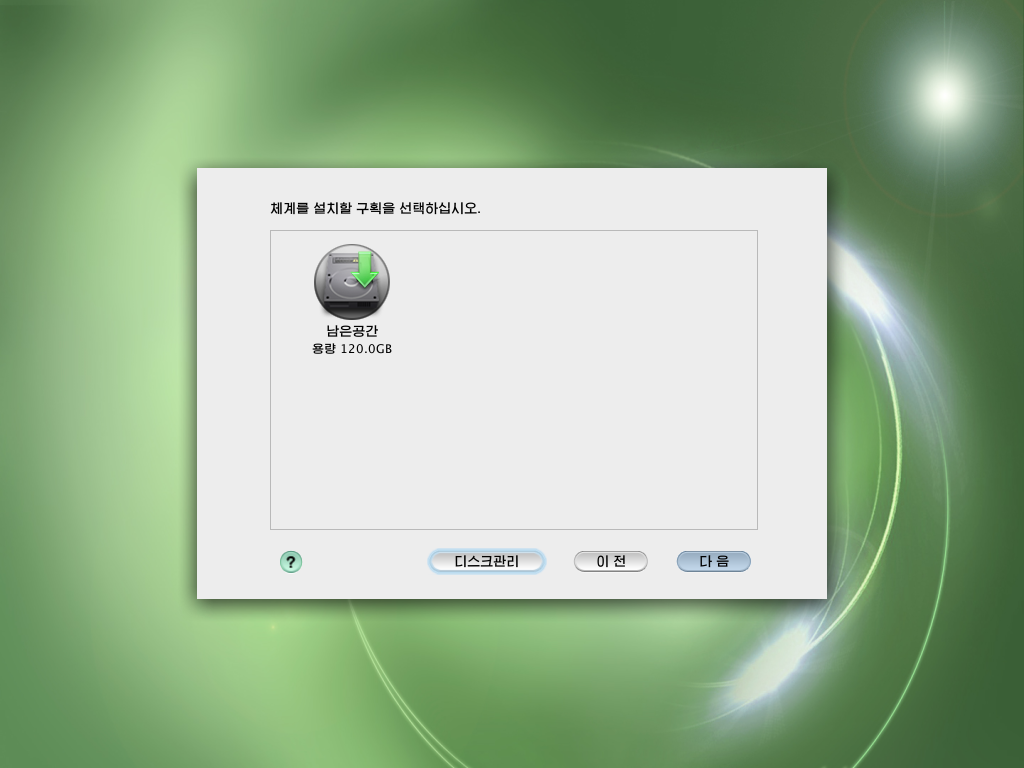
You will want to select the hard drive you want to use. In this case there is only one drive and the only drive there so it is pretty easy to select. One you select the drive you hit the Next button (the blue button on the bottom right) 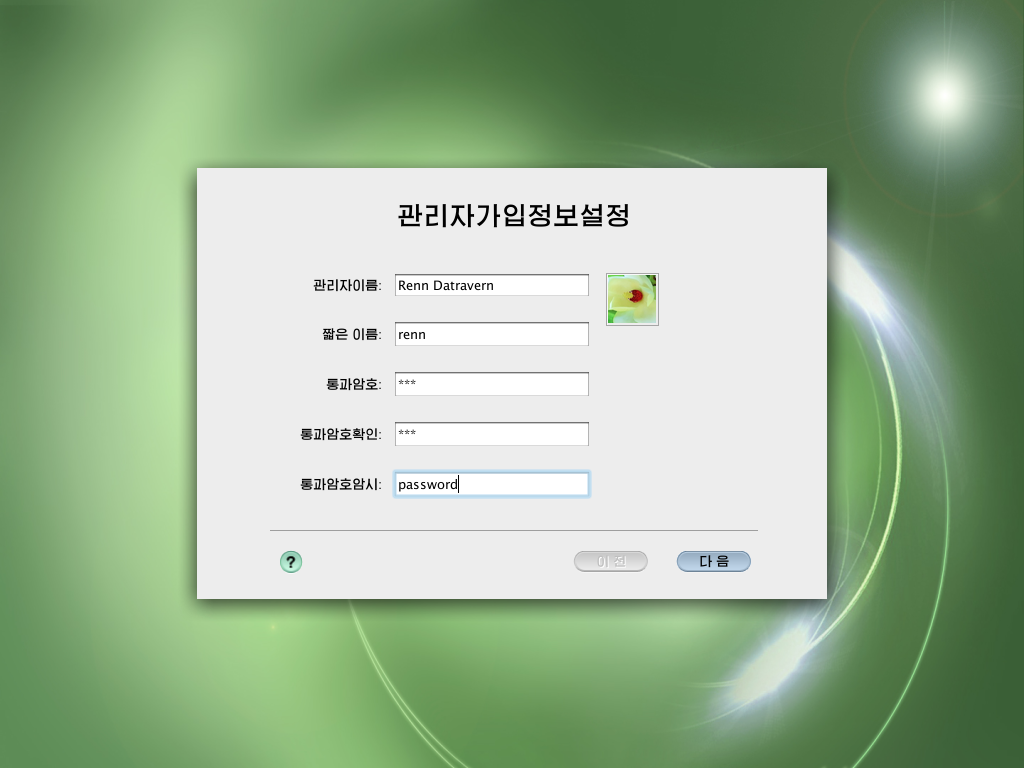
Fill out your info into the OS. It's pretty easy. Though it is in the following order Full Name: Username: Password: Confirm Password: Password Hint: This layout is pretty common amongst a ton of Linux Distributions as well as Mac OS X which RedStar is copying from. The Following Step is Important!!! 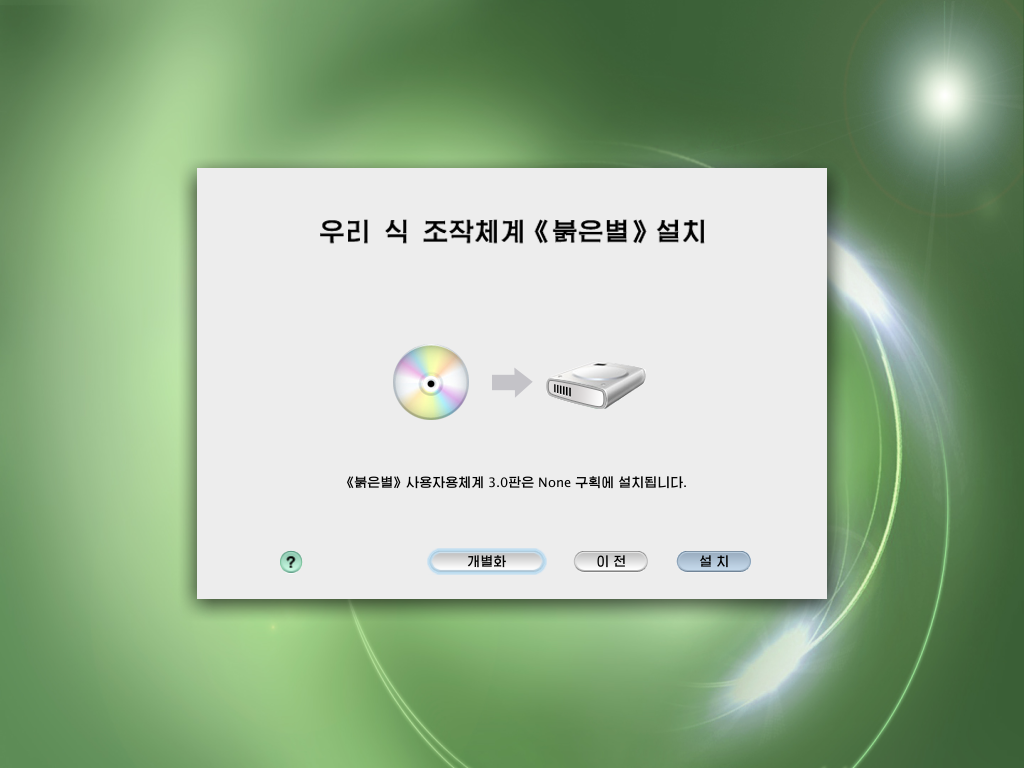
On this screen you will want to hit the first button instead of just hitting next. The first button (The biggest button on the left) will open a screen with options 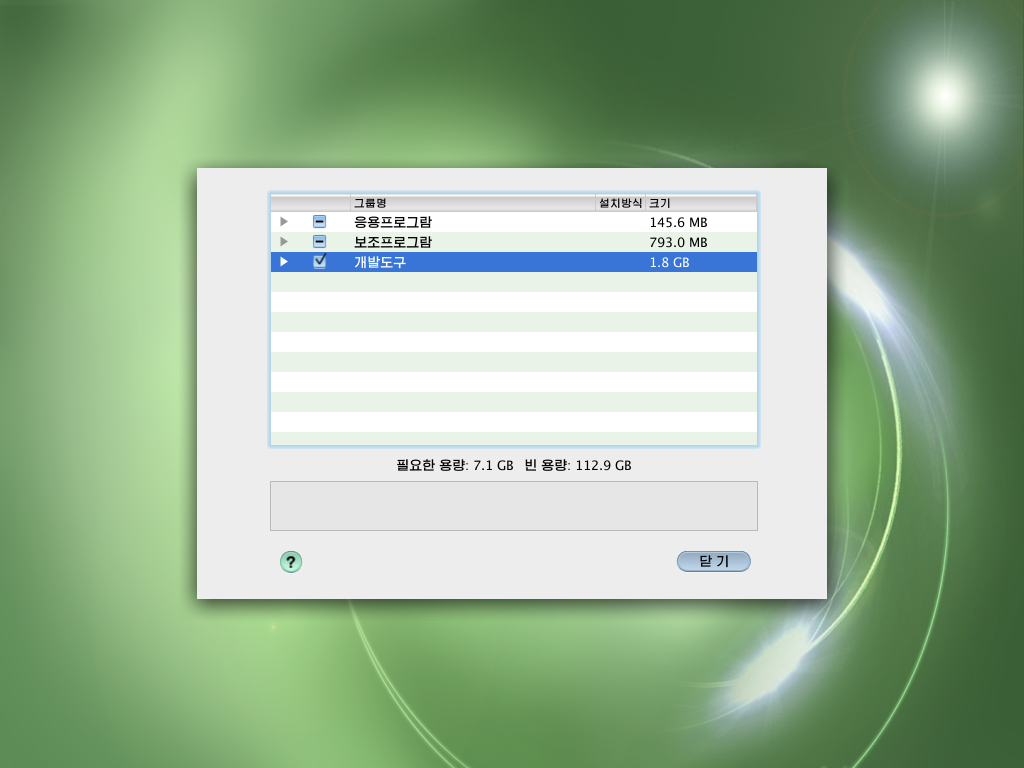
The 3rd option is the one you want to select. It is 1.8GB in size but it is development tools such as GCC, KDE Tools, GTK Tools, Qt Tools, and so on. These tools are very important for things we are doing later on. After selecting that option you want to Next. Then when it gets back to the previous menu you want to continue forward. 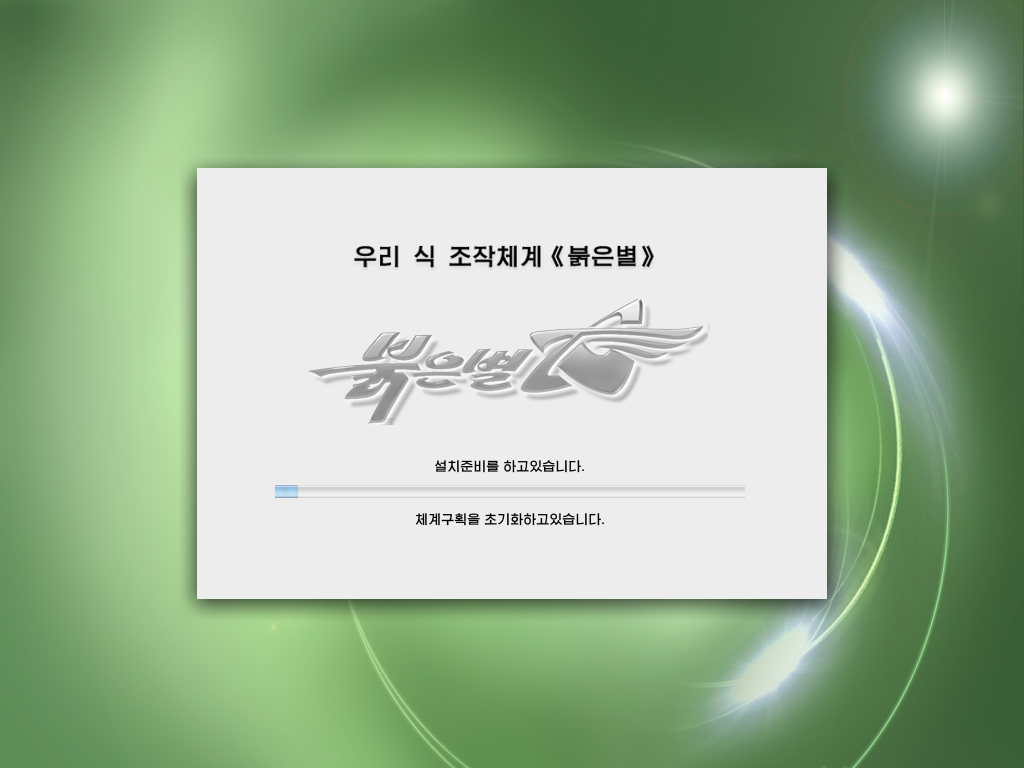
Now it will begin installing to your hard drive! |